

Author: Senior ABB Automation Engineer • 18+ Years Field Service • IEC 61131-2, SIL2 Compliance
This guide is strictly for engineers handling ABB 07 AB 67 R1 binary output modules, focusing on fault diagnosis, component-level repair checks, installation, and functional verification.
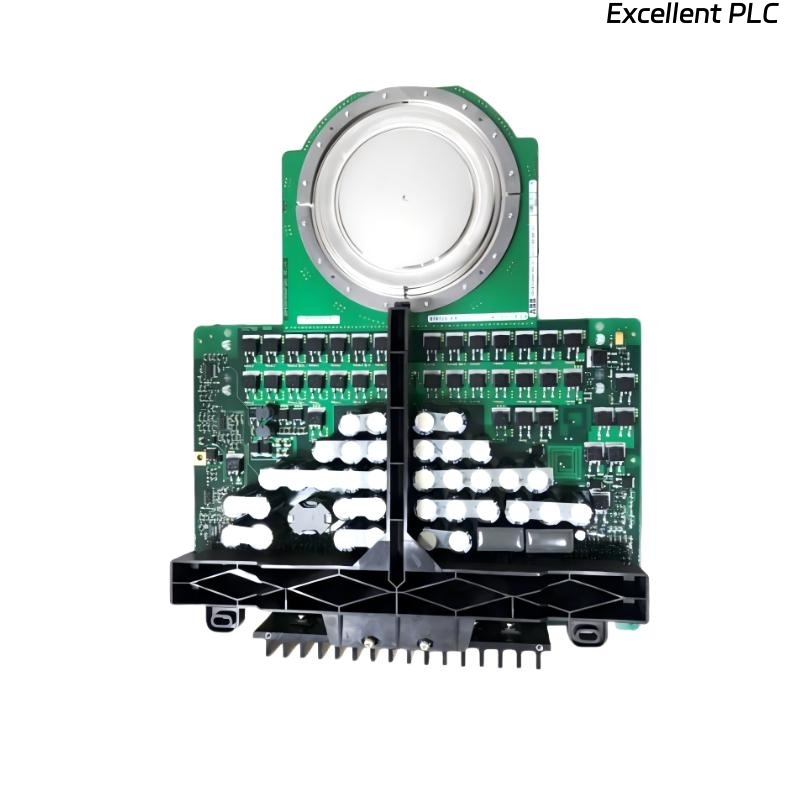
1. Typical Field Faults
-
Output channels fail to switch despite correct configuration
-
Random or ghost switching events
-
LEDs not reflecting real output status
-
Output channel intermittently active under load
-
Module not recognized by controller after rack power-up
Observation: Most failures are traced to MOSFET degradation, optocoupler failure, or terminal contact issues.
2. Pre-Removal Checks (On-Site)
Before pulling the module:
-
Verify output channel wiring integrity with DMM continuity test
-
Disconnect field loads to isolate module from external faults
-
Measure module supply voltages: Vlogic, Vdrive, Vsense
-
Observe LEDs for abnormal patterns or flickering
-
Ensure no external voltage is applied to outputs
Tip: If outputs behave normally with load disconnected, external wiring may be the root cause.
3. Bench Diagnostics
3.1 Output Stage Testing
Equipment: DMM, oscilloscope, resistive load
MOSFET Test Procedure:
Dynamic Test:
3.2 Optocoupler & Isolation Check
-
Measure voltage drop across optocoupler input
-
Check isolation resistance between channel and backplane (>100MΩ)
-
Replace failing optocoupler if measured drop deviates >10% from nominal
3.3 Power Supply & Logic Check
| Test Point | Expected | Tolerance | Faulty Component |
|---|---|---|---|
| Vlogic | 3.3V | ±5% | LDO U12 |
| Vdrive | 12V | ±10% | D5, C24 |
| Vsense | 1.2–1.3V | ±2% | R34, R35 |
4. Installation Procedure
4.1 Preparation
-
Isolate power from I/O rack
-
Document module orientation
-
Clean connector contacts with IPA
-
Ensure ESD safety
4.2 Insertion Steps
-
Insert module vertically into rack slot without twisting
-
Ensure even seating on the backplane connector
-
Tighten terminal screws to recommended torque
-
Connect field wiring with correct polarity and shielding
-
Power up and check LED status
Important: Never hot-swap; risk of MOSFET damage.
4.3 Post-Installation Verification
-
Cycle outputs 0% → 50% → 100%
-
Test channels individually with resistive or actual actuator load
-
Log LED behavior and channel response
-
Observe for over-temperature warnings
Sample IEC Verification Logic:
5. Repair vs Replacement Guidance
-
Single MOSFET or optocoupler fault → repair possible if spares available
-
Multiple channel failures → replace entire module
-
Terminal corrosion only → clean/refurbish
-
SIL2 or safety-critical loops → replace without repair
Observation: Replacement is often faster, safer, and more reliable in critical loops.
6. Maintenance Tips
-
Inspect connectors and terminal screws every 12 months
-
Keep AO and DO wiring separated from high-frequency lines
-
Ensure proper cabinet ventilation to avoid thermal stress
-
Log all repair and replacement events for traceability