

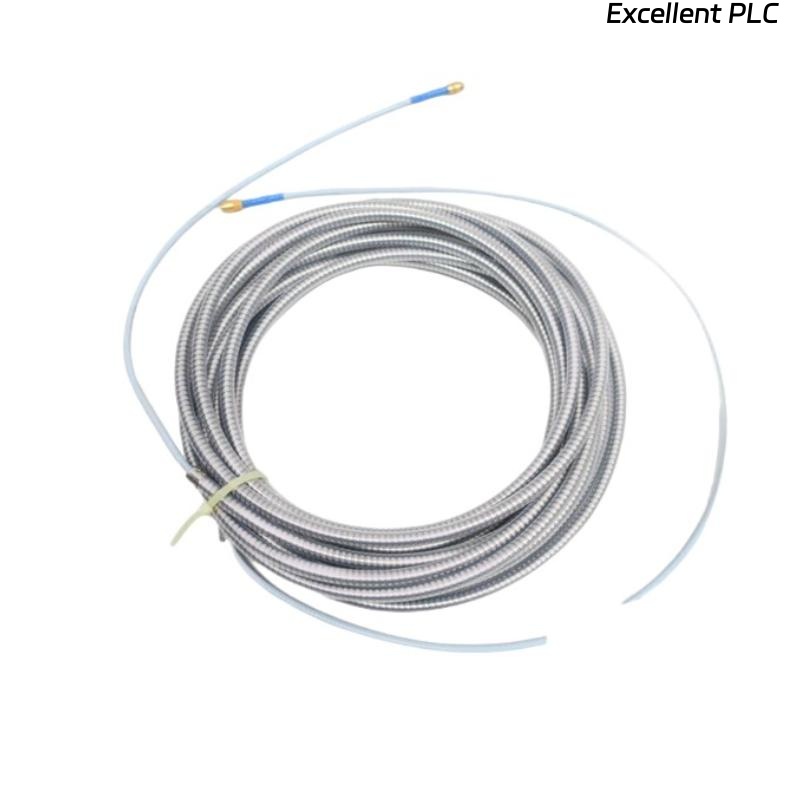
Recently, I encountered a Bently Nevada 330930-085-01-05 3300 NSv extension cable on a turbine monitoring system that had internal water ingress. These cables are critical for transmitting signals from NSv eddy current probes to the monitoring rack, and water inside the cable can cause signal degradation, intermittent faults, or complete loss of readings. Here’s a detailed account of how I handled this issue in the field.
Step 1: Initial Inspection
-
Isolate the machine and power down the 3500 monitoring system.
-
Remove the extension cable from both the sensor and the rack module.
-
Inspect for obvious external damage, kinks, or cracked insulation.
-
Gently shake the cable — water movement inside can confirm internal ingress.
Field tip: Internal water is often accompanied by oxidation on conductors near the connectors, which can cause intermittent noise.
Step 2: Cable Disassembly
-
Carefully disconnect the connector ends; take note of pin assignments.
-
If the cable has a removable jacket or splice point, open it to inspect the internal conductors.
-
Observe for water droplets, corrosion, or discoloration on the shield braid and inner conductor.
Safety tip: Use an ESD wrist strap when handling connectors to avoid damaging sensitive eddy current signal lines.
Step 3: Drying Procedure
-
Remove moisture using low-pressure air. Avoid high-pressure air that could damage the insulation.
-
For stubborn moisture, place the cable in a drying oven at 40–50°C for 12–24 hours.
-
Inspect after drying for signs of corrosion. Minor oxidation can be cleaned using contact cleaner and soft brush.
-
Ensure the shield braid is continuous and intact.
Field tip: Do not attempt to power up the system with wet cables; even small moisture traces can short signals.
Step 4: Connector Maintenance
-
Check each connector pin and socket for corrosion.
-
Clean pins with isopropyl alcohol or specialized electronic contact cleaner.
-
Verify the connector retains mechanical integrity — bent or corroded pins must be replaced.
Step 5: Reassembly and Testing
-
Reassemble the cable carefully, ensuring shield continuity and correct pin alignment.
-
Connect the cable to the NSv probe and 3500 rack module.
-
Power up the monitoring system and observe channel readings.
-
Check for signal noise or abnormal fluctuations.
-
If possible, perform a loop-back test or compare readings with a nearby reference sensor.
Field tip: Even after drying, some cables may have permanent insulation degradation; replace if signals remain unstable.
Step 6: Preventive Measures
-
Route cables away from moisture-prone areas.
-
Use protective conduits or flexible sleeving in wet environments.
-
Ensure end seals and gaskets on connectors are intact.
-
Schedule periodic inspection and baseline testing for critical turbine signals.
Step 7: Common Mistakes
-
Powering up the system before drying → damages module input.
-
Ignoring minor corrosion → intermittent faults later.
-
Improper reassembly of shield braid → increased noise and reduced signal integrity.
-
Reusing damaged connectors → long-term reliability issues.
Key Takeaways
-
Internal water in NSv extension cables is serious but manageable if carefully inspected, dried, and tested.
-
Correct handling of connectors, shields, and insulation ensures long-term signal reliability.
-
Preventive measures like conduit, sealing, and periodic inspection significantly reduce recurrence.
“Even a small droplet inside a cable can disrupt high-precision eddy current measurements — patience and methodical inspection save downtime.”