

When I first installed a Schneider TSXWMY100 Ethernet TCP/IP module on a Modicon Premium PLC, I quickly learned that connecting it to a plant network wasn’t as simple as just plugging in a cable. Below, I’ll share the full process — from physical installation to IP configuration and testing — exactly as I performed it on site.
Step 1: Preparing the Hardware and Checking Compatibility
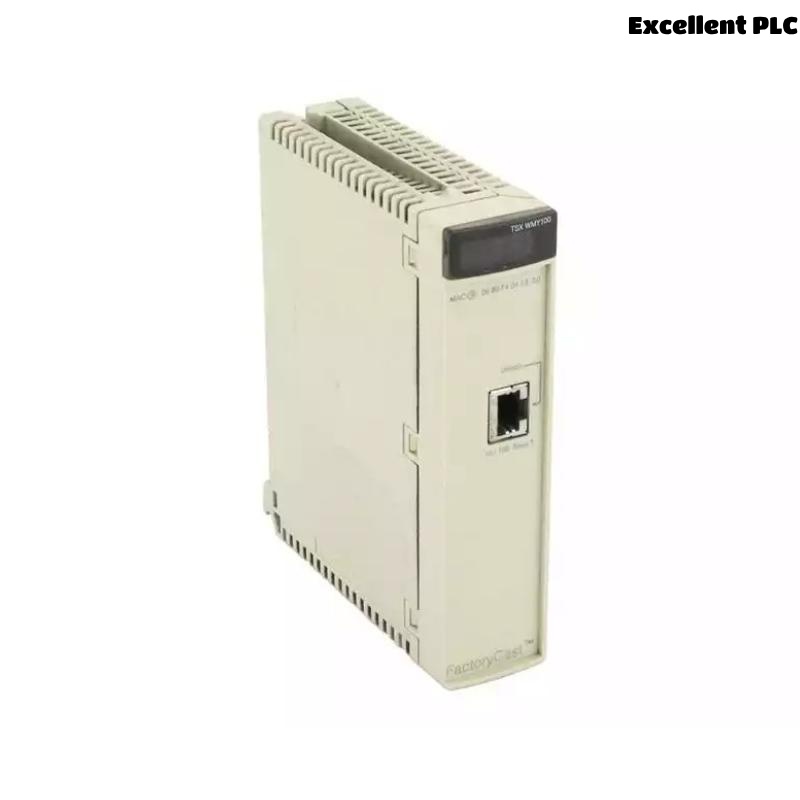
Before touching any cable, make sure the module’s firmware and PLC CPU are compatible. The TSXWMY100 is designed for Modicon Premium PLC racks and supports Ethernet TCP/IP communications between PLCs, HMIs, and SCADA systems.
Here’s what I confirmed first:
-
The rack had an available communication slot (not for discrete I/O).
-
The CPU model (e.g., TSX57xx) supported Ethernet communication.
-
The network switch supported 10/100 Mbps Auto-Negotiation and static IP connections.
I also ensured the cabinet power was off before inserting the module — never hot-swap communication cards.
Step 2: Physical Installation of the TSXWMY100
-
Remove the slot cover from the Premium PLC base rack.
-
Carefully align the TSXWMY100 module with the guide rails.
-
Push it into place until the rear connector seats firmly.
-
Tighten the top and bottom screws to secure the module.
-
Reapply power to the rack.
After powering on, the Module Status (MS) LED blinked green — indicating proper communication with the CPU.
Step 3: Connecting the Ethernet Network
The TSXWMY100 has an RJ45 Ethernet port on the front. I connected it as follows:
-
Used a Cat5e shielded cable for industrial noise environments.
-
Plugged one end into the module’s Ethernet port.
-
Connected the other end to a managed industrial switch in the control cabinet.
⚙️ Note: The TSXWMY100 only supports straight-through Ethernet cables when connected to a switch or router. Use crossover cables only for direct laptop connections.
Once connected, the Link LED turned green — confirming the physical network link was established.
Step 4: Assigning an IP Address to the TSXWMY100
Unlike modern Ethernet modules that can use DHCP, the TSXWMY100 typically requires a static IP configuration using Schneider’s programming software.
Here’s how I did it:
-
Open Unity Pro / EcoStruxure Control Expert on my laptop.
-
Connect the laptop to the same network switch as the module.
-
Open the existing PLC project.
-
Right-click on the Ethernet module slot → “Properties.”
-
Under Communication Parameters, enter the desired IP address (e.g., 192.168.1.10) and subnet mask (e.g., 255.255.255.0).
-
Save and download the configuration to the PLC.
-
Reboot the rack to apply changes.
After reboot, the module’s Ethernet Activity LED began blinking — indicating active communication.
Step 5: Verifying the Connection
To confirm the module was accessible:
-
I opened a Command Prompt on my laptop.
-
Typed
ping 192.168.1.10. -
Received consistent replies with <1ms latency — perfect.
Then, within Unity Pro, I tested communication by monitoring variables through the Ethernet connection.
Everything updated in real time, confirming that the TCP/IP link was stable.
Step 6: Optional Web Server Configuration
The TSXWMY100 supports an embedded web server for monitoring PLC data and diagnostics. To enable it:
-
In Unity Pro, open the module configuration page.
-
Under the Web Server tab, check Enable Web Access.
-
Set a username and password for security.
-
Save and download again.
Then, I simply entered the module’s IP address (e.g., http://192.168.1.10) into a browser and accessed live PLC data and diagnostics remotely.
Step 7: Troubleshooting Tips from Real Experience
During setup, I encountered several issues that may help others:
-
No Link LED: Check the cable and switch port speed settings (must support Auto-Negotiation).
-
Ping fails: Verify the IP subnet of your PC matches the module’s network.
-
PLC not communicating: Ensure the Ethernet communication path is correctly assigned in the CPU configuration.
-
Flashing ERR LED: Recheck module configuration — incorrect firmware or IP duplication often causes this.
Step 8: Final Testing and Documentation
Once the communication was stable, I:
-
Recorded the module’s MAC address and IP in the cabinet log sheet.
-
Labeled the Ethernet cable at both ends for traceability.
-
Created a backup of the Unity project.
After 24 hours of runtime observation, there were no data drops or communication timeouts — indicating the module was configured correctly and network interference was minimal.
Key Takeaways
-
Always configure static IPs for industrial networks — avoid DHCP in PLC environments.
-
Shielded Ethernet cables reduce noise and improve reliability.
-
Use the embedded web server for quick diagnostics.
-
Label every cable and record IP settings to simplify maintenance later.
Summary
Installing and configuring the Schneider TSXWMY100 Ethernet TCP/IP module isn’t complicated once you understand its structure.
With careful slot installation, precise IP assignment, and thorough verification, the module provides fast, reliable communication for Modicon Premium PLCs in any industrial automation setup.
Following these real-world steps ensures your network connection is stable, secure, and maintainable over the long term.