

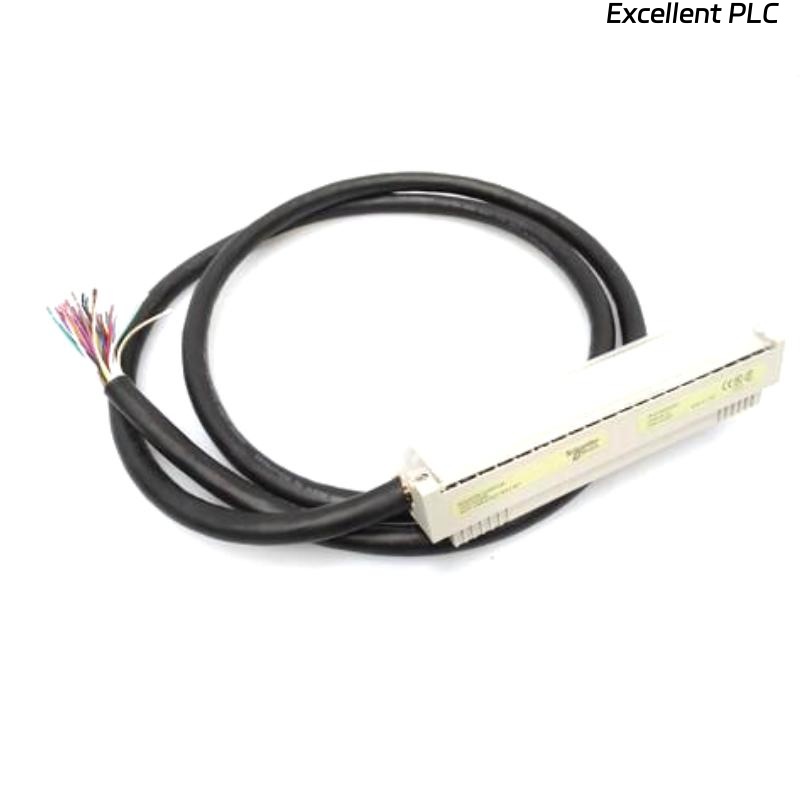
A few months ago, I was tasked with installing a Schneider 140XTS10206 CableFast system on a newly commissioned control panel. I want to share how I approached the cable installation because there are several small but critical steps that can make or break a successful setup.
When I arrived at the site, the first thing I did was review the system layout and panel schematics. CableFast is convenient because it allows quick connections, but it’s easy to make mistakes if you don’t follow a clear sequence.
I started by preparing all the cables. For this system, each cable has labeled ends, but I still verified the labels against the panel diagram. Mislabeling a cable can cause hours of debugging later. I grouped the cables according to their destination modules to make installation smoother.
Next, I checked the connector slots on the 140XTS10206 modules. These slots are keyed, so you can’t insert the wrong connector easily, but you do need to align the latching mechanism properly. I always inspect the connectors for dirt or dust, and lightly clean them if necessary—this prevents bad connections that might show up as intermittent faults.
The installation sequence I used was:
-
Start with the main power and backbone connections. These are critical for the CableFast bus to communicate correctly. I inserted each connector carefully until it clicked.
-
Then I routed the signal and I/O cables, keeping them separate from high-power lines to reduce interference. I used cable ties and Velcro straps for neatness, but avoided overtightening, which can crush the cable and cause signal errors.
-
After connecting each cable, I gently pulled on it to make sure the latch was engaged and the cable was secure. A loose CableFast connector can cause intermittent communication faults that are tricky to trace.
-
Once all cables were installed, I double-checked the panel layout against the system diagram. It’s easy to connect two adjacent modules incorrectly if you’re not careful.
After physical installation, I powered up the system and ran a quick communication check from the PLC. All the connected modules were recognized immediately, and no errors were reported. I then ran a small diagnostic routine to verify that each I/O signal was being transmitted correctly.
Some lessons from this installation:
-
Always verify labels and module positions before starting. CableFast is fast, but speed can be a trap if labels are ignored.
-
Keep cables neat but flexible; you want enough slack to remove modules later without disconnecting everything.
-
Inspect connectors before insertion. Even a tiny particle can affect signal quality.
-
Test the system immediately after installation. Catching wiring mistakes before full commissioning saves hours.
Overall, the 140XTS10206 CableFast system makes installation much faster compared to traditional wiring, but careful attention to detail is still essential. Following a logical sequence, verifying labels, and checking each connection during installation helped me avoid any post-installation faults and ensured the system ran perfectly.