

📘 1. Background
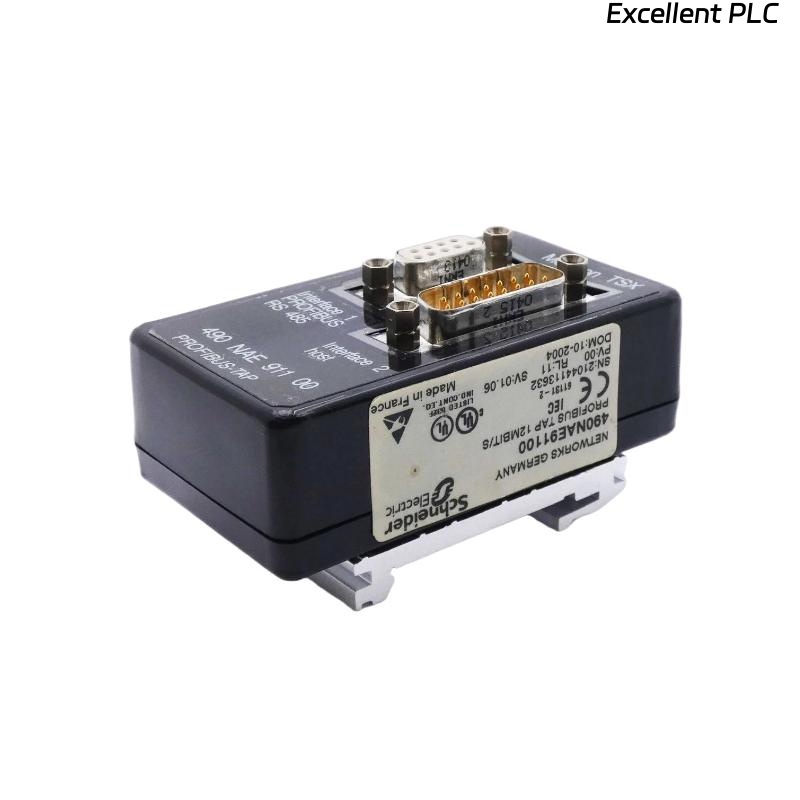
The Schneider 490NAE91100 is a main bus junction box used in medium voltage switchgear systems.
A field case reported water ingress due to condensation or seal failure:
-
Moisture found inside the junction box
-
Potential risk of short circuit and equipment failure
-
Immediate repair required to restore safe operation
This guide documents diagnosis, repair procedure, and preventive measures.
⚠️ 2. Safety Precautions
-
Disconnect all power to the switchgear before opening the junction box.
-
Use insulated gloves and PPE.
-
Ensure the work area is dry and free from standing water.
-
Verify proper grounding before handling busbars.
⚠️ Water in a live junction box can cause fatal electrical hazards. Always confirm isolation before repair.
🔍 3. Initial Inspection
-
Open the 490NAE91100 junction box carefully.
-
Inspect for:
-
Visible water accumulation
-
Corrosion on busbars, terminals, and screws
-
Damaged or loose cable glands and seals
-
-
Document affected areas and take photographs for records.
Observation Example:
-
Water pooled at the bottom, busbar oxidation visible
-
One cable gland seal degraded
-
No short circuits detected yet
🛠️ 4. Water Removal & Drying
-
Remove water manually using an insulated vacuum or absorbent material.
-
Wipe down all metal surfaces with lint-free, dry cloth.
-
Dry the enclosure using:
-
Low-heat industrial air blower OR
-
Desiccant packs for smaller enclosures
-
-
Allow at least 2–3 hours to ensure complete drying.
💡 Tip: Avoid high-temperature blowers that could damage insulation or busbar coatings.
🔧 5. Corrosion and Component Repair
-
Inspect busbars, terminals, and screws for oxidation.
-
Remove minor corrosion using non-metallic brush and contact cleaner.
-
Replace severely oxidized screws, terminals, or cable glands.
-
Apply anti-corrosion coating suitable for electrical contacts.
🧩 Engineer Insight: Replacing degraded cable gland seals is critical to prevent future water ingress.
🏗️ 6. Reassembly & Sealing
-
Verify all terminals are tight and properly torqued.
-
Replace the junction box gasket if compromised.
-
Reinstall cable glands with new rubber seals.
-
Close the junction box, ensuring a watertight seal.
⚠️ Double-check all entry points and ensure no loose wiring near seals.
🖥️ 7. Post-Repair Testing
-
Measure insulation resistance between busbars and ground using a megohmmeter.
-
Confirm continuity and torque of all connections.
-
Power up the system gradually while monitoring for abnormal currents or voltage drops.
-
Observe the junction box for leakage over a 24-hour period.
🧰 8. Preventive Recommendations
-
Install drainage or desiccant packs for humid environments.
-
Inspect cable gland seals every 6–12 months.
-
Maintain junction box in a sheltered location when possible.
-
Schedule annual insulation resistance testing to detect moisture early.
💡 Field Note: Regular inspection and proper sealing prevent 80–90% of water-related failures in bus junction boxes.
✅ 9. Field Repair Checklist
-
[✔] Power isolated and verified
-
[✔] Water removed completely
-
[✔] Corrosion cleaned or components replaced
-
[✔] Cable glands resealed
-
[✔] Gasket and enclosure fully sealed
-
[✔] Insulation resistance measured and acceptable
-
[✔] System powered up and monitored for normal operation