

📘 1. Case Background
A manufacturing site reported:
-
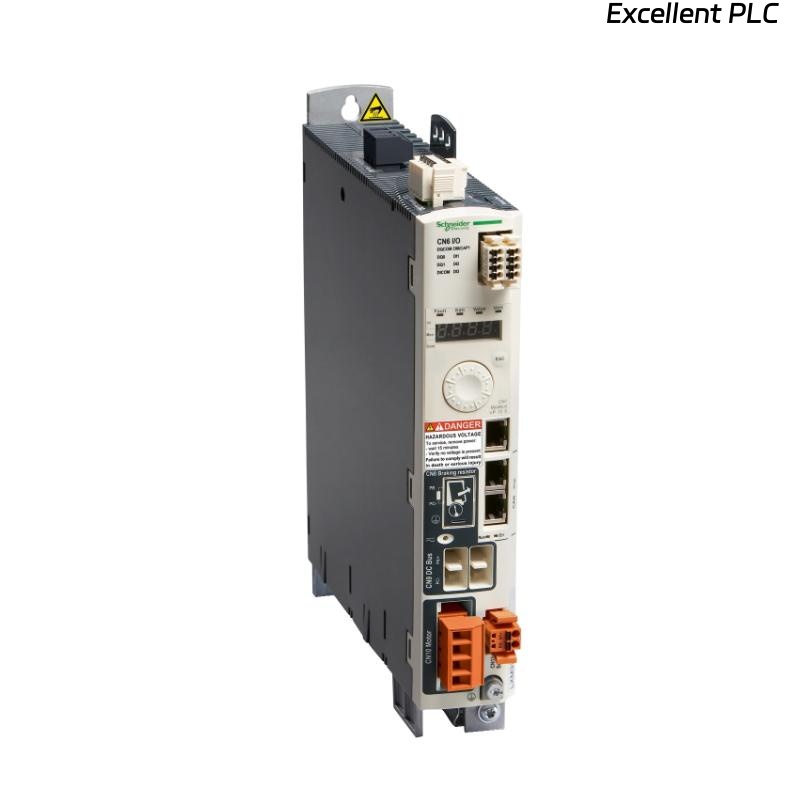
LXM32AD30N4 motion servo drive stopped responding.
-
Motor does not move, ERR LED is blinking.
-
PLC logs show drive fault code 21 (Overcurrent/Short).
-
Production line halted due to this drive failure.
The goal is to diagnose the failure, perform repair or replacement, and resume safe operation.
🔍 2. Initial Assessment
Step 1 — Visual Inspection
-
Check the drive for burn marks, swelling capacitors, or loose connections.
-
Inspect power cables for damage.
Step 2 — Check Indicators
-
RUN LED: Off
-
ERR LED: Blinking red, indicating fault
-
DRV FAULT: On
Observation: No external mechanical damage, signs of internal electronics stress.
⚡ 3. Electrical Diagnostics
-
Measure input voltage to verify proper 24 VDC control and 230 VAC power supply.
-
Disconnect motor and measure drive output terminals for short circuits.
-
Check motor for phase continuity and insulation resistance.
Result:
-
Input voltage normal
-
Output terminals show shorted phase, confirming internal MOSFET or power section failure
💡 Case Note: LXM32 series drives are sensitive to overcurrent caused by wiring errors or sudden load jam.
🛠️ 4. Repair / Replacement Procedure
Step 1 — Power Down & Isolation
-
Disconnect main AC power.
-
Wait 10 minutes for DC bus to discharge.
Step 2 — Remove Faulty Drive
-
Unscrew the LXM32AD30N4 from the drive rack.
-
Label and disconnect all motor, feedback, and control cables.
Step 3 — Inspect & Replace Components (Optional)
-
For in-field replacement: replace the entire drive module rather than internal components to avoid extended downtime.
-
If replacing internally: verify MOSFETs, capacitors, and fuses.
Step 4 — Install Replacement Drive
-
Insert new LXM32AD30N4 into rack slot.
-
Reconnect all power, motor, and control cables carefully.
-
Verify torque connections, shielded motor cables, and grounding.
Step 5 — Software Configuration
-
Open EcoStruxure Motion Expert.
-
Add the new drive to your project slot.
-
Configure motor parameters (rated current, encoder type, motion limits).
-
Download configuration to the drive.
🖥️ 5. Testing & Verification
-
No-load test: Move the motor slowly and verify smooth motion.
-
Monitor current and voltage: Ensure no spikes or errors.
-
Simulate production load: Check drive operation under normal load.
-
Verify all fault LEDs are off, and communication with PLC is stable.
⚠️ Always start with low-speed movements to avoid mechanical shock.
🧰 6. Lessons Learned
-
Always check wiring and motor alignment before powering the drive.
-
Overcurrent events often originate from mechanical binding or phase short in the motor.
-
Keep spare LXM32AD30N4 drives on-site for critical production lines.
-
Log drive firmware version and serial number for easier troubleshooting in the future.
✅ 7. Field Case Summary
| Step | Action | Outcome |
|---|---|---|
| Fault detection | ERR LED blinking, PLC fault code 21 | Confirmed drive fault |
| Visual/electrical inspection | No external damage, output short | Internal MOSFET/power stage failure |
| Replacement | Install new LXM32AD30N4 | ERR LED off, smooth motor motion |
| Software configuration | EcoStruxure Motion Expert | Drive parameters loaded correctly |
| Verification | Low-load & production simulation | Full operation restored |
💡 Engineer Tip: Document the root cause and repair steps in the maintenance log. Future failures often correlate with motor overload events.