

Table of Contents
- Bently Nevada 168209-479-040-15-05-01 Installation Guide Entry
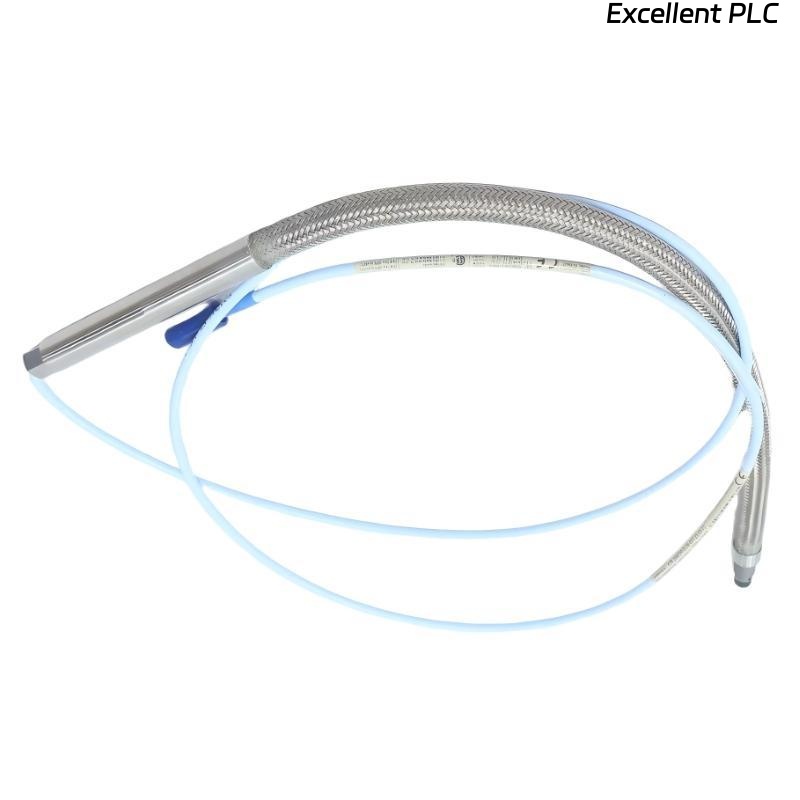
- Application Context of 3300 XL 8 mm Proximity Probe
- Installation Risk Evaluation for High-Speed Equipment
- Mechanical Installation and Probe Positioning
- Electrical Setup and System Configuration
- Operational Verification and Commissioning
- FAQ
- Technical Summary
Bently Nevada 168209-479-040-15-05-01 Installation Guide Entry
Bently Nevada 168209-479-040-15-05-01 3300 XL 8 mm proximity probe installation errors in high-speed machinery often result in signal instability due to improper probe positioning and insufficient mounting rigidity rather than probe defects.
This Installation Guide focuses on precision installation techniques required for stable vibration monitoring in high-speed applications.
Application Context of 3300 XL 8 mm Proximity Probe
- Used for shaft vibration and position monitoring
- Critical in turbines, compressors, and high-speed motors
- Requires integration with proximitor and extension cable
Measurement accuracy depends on correct installation and system configuration.
Installation Risk Evaluation for High-Speed Equipment
- Shaft runout causing measurement distortion
- Thermal growth affecting probe gap
- High-frequency vibration influencing mounting stability
- Mechanical looseness leading to false readings
Engineering Insight: High-speed environments amplify small installation errors.
Mechanical Installation and Probe Positioning
- Install probe perpendicular to shaft surface
- Position probe near bearing for stable measurement
- Adjust probe gap to target voltage range (-8V to -10V)
- Secure probe using locking mechanism to prevent movement
Mechanical precision ensures reliable signal output.
Electrical Setup and System Configuration
- Connect probe to 3300 XL extension cable and proximitor
- Verify system length calibration
- Ensure proper grounding and shielding
IF signal unstable:
    check probe mounting rigidity
    verify gap voltage

IF incorrect readings:
    inspect system calibration
    verify cable connections

IF no signal:
    test full signal chain
    check proximitor module
Real Case:
In a steam turbine system operating at 6000 RPM, vibration readings showed random spikes. Gap voltage measured -7V, slightly out of optimal range. After adjusting probe to -9.2V and reinforcing mounting bracket, signal stabilized and spike events disappeared.
Operational Verification and Commissioning
- Measure gap voltage under operating conditions
- Monitor vibration trend during speed ramp-up
- Compare data with baseline machine signature
Commissioning confirms readiness for continuous monitoring.
FAQ
Why is probe positioning critical in high-speed machines?
Because small misalignment causes significant measurement errors at high speeds.
What happens if gap voltage is not within range?
The signal becomes non-linear and unreliable.
Can mounting looseness affect readings?
Yes, it introduces vibration artifacts and false alarms.
Technical Summary
This Installation Guide highlights that Bently Nevada 168209-479-040-15-05-01 probe performance depends on precise mechanical positioning, proper gap control, and correct system configuration. Accurate installation ensures stable monitoring in high-speed applications.