

Table of Contents
- Bently Nevada 106765-13 Accelerometer Installation Overview
- Preparation for Bently Nevada 106765-13 Setup
- Bently Nevada 106765-13 Accelerometer Mounting Guidelines
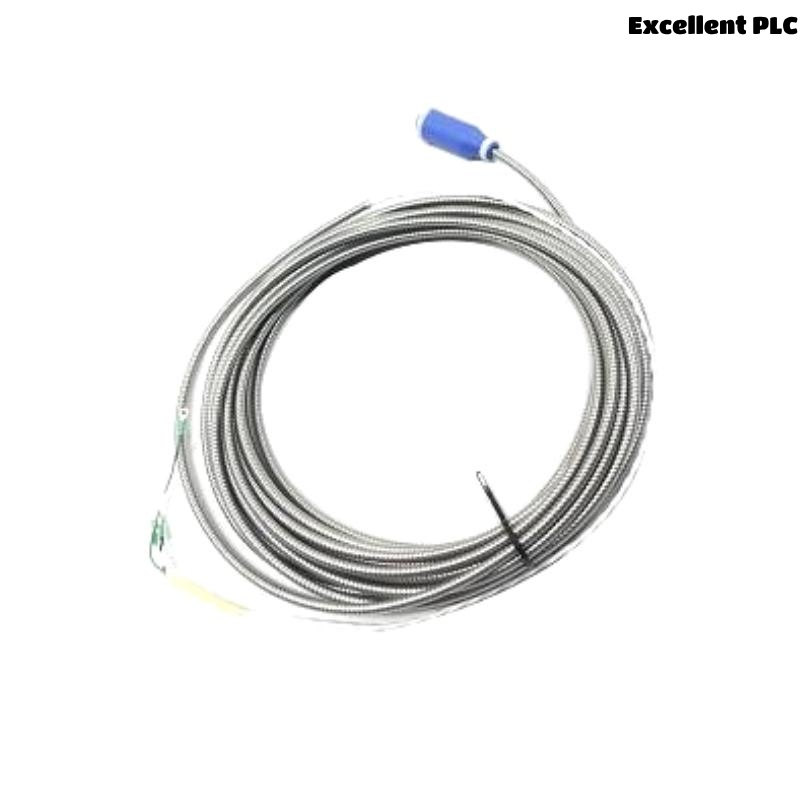
- Wiring and Signal Configuration for Bently Nevada 106765-13
- Bently Nevada 106765-13 Commissioning and Calibration
- Real Installation Case of Bently Nevada 106765-13
- Bently Nevada 106765-13 Accelerometer Installation FAQ
- Final Notes on Bently Nevada 106765-13 Installation
Bently Nevada 106765-13 Accelerometer Installation Overview
Bently Nevada 106765-13 accelerometer installation errors commonly result in inaccurate vibration readings, primarily due to mounting or cable issues rather than sensor defects. Proper Setup and commissioning are critical for reliable monitoring.
Preparation for Bently Nevada 106765-13 Setup
- Verify calibration certificate
- Ensure mounting surface is clean, flat, and free of paint residue
- Prepare shielded twisted-pair cables for signal transmission
- Confirm availability of compatible signal conditioner or monitoring system
Field experience indicates that even minor surface irregularities can introduce baseline vibration offsets up to 4 mm/s.
Bently Nevada 106765-13 Accelerometer Mounting Guidelines
- Align sensor perpendicular to the axis of measurement
- Apply manufacturer-recommended torque (6–8 Nm)
- Avoid high EMI or high-temperature environments
  // Zero-G Offset Verification
  READ ZeroG
  IF Offset > 0.5 mm/s THEN
     Adjust Mounting;
  END_IF;
Wiring and Signal Configuration for Bently Nevada 106765-13
- Use shielded twisted-pair cables
- Ground shield at one end only
- Check signal polarity for 4–20 mA or ±10 V outputs
Improper grounding has been observed to cause signal fluctuations up to ±2.5 mm/s in turbine installations.
Bently Nevada 106765-13 Commissioning and Calibration
- Power up accelerometer and signal conditioner
- Verify zero-g offset and sensor orientation
- Perform calibration according to monitoring system requirements
- Compare readings against baseline vibration data
Structured commissioning reduces false alarms and ensures long-term measurement accuracy.
Real Installation Case of Bently Nevada 106765-13
In a centrifugal compressor, baseline vibration at rest was reported at 6 mm/s. Inspection revealed mounting screws under-torqued at 3 Nm and cables running near power feeders.
Correcting torque to 7 Nm and rerouting shielded cables reduced baseline vibration to 1 mm/s and stabilized monitoring signals.
Bently Nevada 106765-13 Accelerometer Installation FAQ
Why does the Bently Nevada 106765-13 show vibration at zero speed?
Loose mounting or uneven mounting surface is the most common cause. Re-mounting with correct torque resolves this.
Can signal cables be routed near high-power lines?
EMI from high-power lines can introduce noise. Use shielded twisted-pair cables and ground properly to prevent false readings.
What is the proper commissioning process for this accelerometer?
Verify zero-g offset, ensure correct orientation, calibrate using the monitoring system, and validate readings against baseline vibration data.
Final Notes on Bently Nevada 106765-13 Installation
Effective installation of Bently Nevada 106765-13 accelerometers requires meticulous mounting, correct cabling, and structured commissioning. Field experience consistently shows that mounting and grounding issues are the main causes of false vibration signals.