

Contents
- Yokogawa ADV541 Digital Output Module Overview
- ADV541 Digital Output Module Applications
- ADV541 Installation Preparation
- ADV541 Power and Load Verification
- ADV541 Module Mounting Procedure
- ADV541 Digital Output Wiring Installation Guide
- ADV541 Relay and Output Load Considerations
- ADV541 Grounding and Cabinet Layout
- ADV541 System Configuration Setup
- ADV541 Commissioning Procedure
- ADV541 Output Signal Verification
- ADV541 Interlock Validation
- ADV541 Reliability Optimization
- ADV541 Preventive Maintenance
- Real Commissioning Case
- FAQ
Yokogawa ADV541 Digital Output Module commissioning failures are usually caused by wiring mistakes, incorrect load connections, or output configuration errors rather than module hardware problems. Following a proper Installation Guide helps avoid startup delays and ensures reliable control of solenoids, relays, motor starters, and indicator circuits.
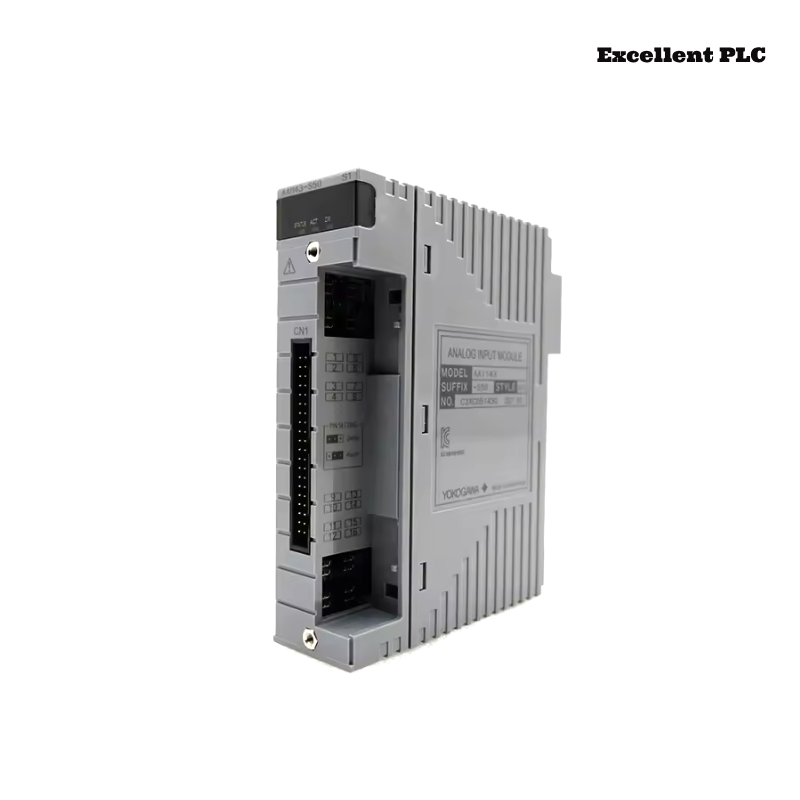
Yokogawa ADV541 Digital Output Module Overview
The ADV541 Digital Output Module is designed to transmit digital control signals from a Yokogawa control system to field devices. Typical applications include valve actuation, relay control, motor start commands, alarm outputs, and process interlock execution.
ADV541 Digital Output Module Applications
- Solenoid valve control
- Motor starter commands
- Process alarm outputs
- Shutdown logic execution
- Pump start and stop control
- Remote relay activation
ADV541 Installation Preparation
- Verify I/O allocation drawings
- Review output loop diagrams
- Check cabinet layout drawings
- Confirm field load ratings
- Prepare commissioning records
ADV541 Power and Load Verification
Before installation, verify output power supplies and field device requirements. Many commissioning problems occur when output loads exceed design limits.
- Measure supply voltage
- Verify load current requirements
- Check fuse ratings
- Inspect terminal connections
- Confirm power distribution integrity
ADV541 Module Mounting Procedure
- De-energize the cabinet.
- Install the ADV541 module into the designated slot.
- Secure retention mechanisms.
- Connect terminal assemblies.
- Inspect connector engagement.
- Restore cabinet power.
ADV541 Digital Output Wiring Installation Guide
- Separate output and signal cables
- Use proper conductor sizing
- Label all output circuits
- Verify terminal assignments
- Perform continuity testing
ADV541 Relay and Output Load Considerations
Output channels should never be loaded beyond design limits. Excessive current can shorten relay life and cause intermittent output behavior.
- Verify relay coil current
- Inspect surge suppressors
- Check contact ratings
- Review inductive loads
- Confirm load compatibility
ADV541 Grounding and Cabinet Layout
- Implement single-point grounding
- Separate power and control wiring
- Minimize EMI exposure
- Verify cabinet bonding
- Inspect grounding conductors
ADV541 System Configuration Setup
SCAN I/O MODULE
VERIFY NODE STATUS
ASSIGN OUTPUT CHANNELS
MAP CONTROL TAGS
DOWNLOAD DATABASE
SAVE CONFIGURATION
ACTIVATE OUTPUTS
ADV541 Commissioning Procedure
Commissioning should be performed with actual field devices whenever possible. Simulated tests often fail to identify wiring errors and incorrect load connections.
ADV541 Output Signal Verification
- Check output LED status
- Verify relay activation
- Measure output voltage
- Confirm field response
- Review event records
ADV541 Interlock Validation
- Verify shutdown logic
- Test permissive signals
- Validate alarm outputs
- Check emergency sequences
ADV541 Reliability Optimization
- Improve cable routing
- Reduce electrical noise
- Upgrade grounding quality
- Document output assignments
ADV541 Preventive Maintenance
- Inspect terminals annually
- Verify output operation
- Review diagnostic logs
- Test critical outputs periodically
Real Commissioning Case
During commissioning of a refinery utility system, six solenoid valves controlled by an ADV541 Digital Output Module failed to energize.
- Output Voltage: 24.1 VDC
- Module Diagnostics: Normal
- Communication Status: Healthy
- Affected Outputs: 6
We observed that all affected outputs shared a common external fuse assembly. Investigation revealed a blown fuse caused by an incorrectly wired field junction box.
After correcting the wiring and replacing the fuse:
- All six outputs operated normally
- Valve response returned immediately
- Interlock testing passed successfully
- Commissioning was completed on schedule
ADV541 Installation Guide FAQ
What devices can be controlled by the ADV541 Digital Output Module?
The module can control relays, solenoids, motor starters, alarms, indicator lamps, and shutdown circuits.
What is the most common installation issue?
Incorrect field wiring and load connection errors are more common than module hardware failures.
Why is output verification important during commissioning?
Verification confirms that controller commands correctly activate the intended field devices.
Summary: Reliable ADV541 Installation, Setup, and Commissioning require proper wiring practices, load verification, System Configuration accuracy, and thorough field validation.