

📘 1. Introduction
The Schneider 140MMS42500 is a multi-axis motion controller designed for high-precision automation systems within the Modicon Momentum and Quantum PLC environment.
It supports multiple coordinated servo axes, high-speed I/O, and precise position feedback for advanced motion control applications, such as packaging, material handling, and robotic systems.
Proper installation and configuration are essential to ensure synchronous motion, low latency, and safe operation of connected axes.
🧰 2. Required Tools & Preparation
Before starting the installation, gather the following tools and materials:
-
Anti-static wrist strap
-
Flat-head screwdriver (2.5 mm)
-
Torque wrench (for terminal screws)
-
Shielded multi-conductor cables for motion outputs and feedback
-
Verified 24 VDC power supply
-
Laptop with EcoStruxure Motion Expert or Concept software
⚠️ Safety Tip: Always power off the PLC rack and any connected servo drives before installing the motion controller.
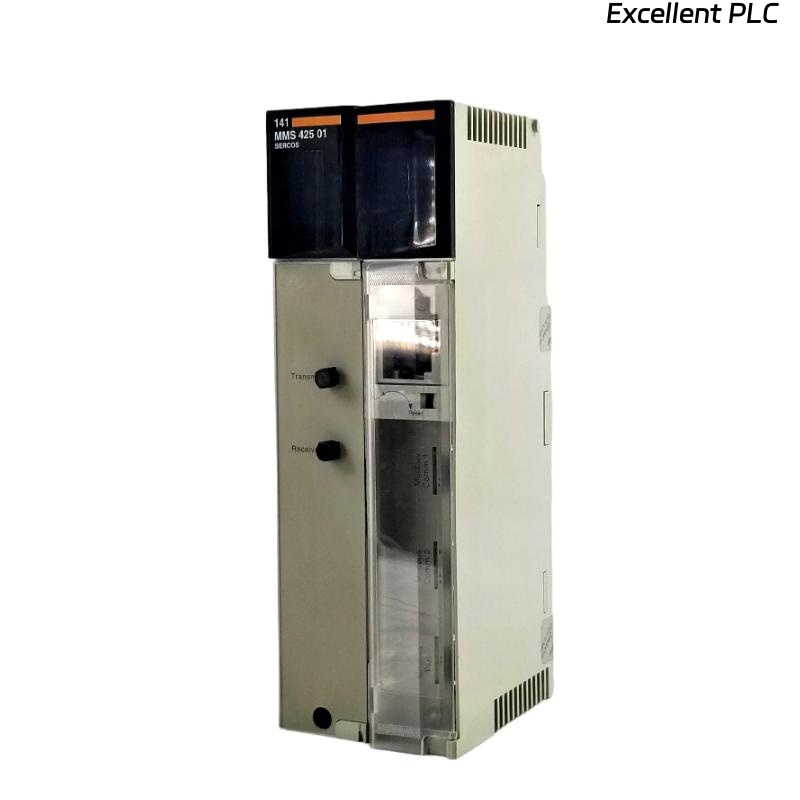
🔧 3. Hardware Overview
| Parameter | Details |
|---|---|
| Model | Schneider 140MMS42500 |
| Function | Multi-axis motion controller |
| Axis Support | Up to 8 coordinated axes |
| Interfaces | EtherCAT / Modbus TCP / I/O expansion |
| Power Supply | 24 VDC via backplane |
| Indicators | RUN, ERR, AXIS FAULT LEDs |
| Mounting | DIN rail or dedicated Motion base slot |
| Operating Temp | 0°C – 55°C |
🧠 Note: The module is hot-swappable only in controlled maintenance environments; avoid swapping during active motion.
🏗️ 4. Installation Steps
Step 1 — Power Down and Slot Preparation
-
Disconnect the main power from the PLC rack.
-
Ensure all field cabling is documented and disconnected from the target slot.
-
Verify the slot is free of dust and debris.
Step 2 — Physical Mounting
-
Align the 140MMS42500 module with the designated motion controller slot.
-
Slide the module firmly into the backplane connector until it clicks into place.
-
Secure with the locking clip or screw.
⚠️ Ensure that the module is seated evenly to prevent bent pins or backplane bus faults.
Step 3 — Axis Wiring
-
Connect servo drives, encoders, and limit switches using shielded multi-conductor cables.
-
Maintain consistent polarity and shielding.
-
Terminate feedback signals correctly at the last device to prevent signal reflection.
Cable Management Tips:
-
Keep motion cables separated from high-voltage power lines.
-
Use cable ties and routing channels to prevent mechanical stress.
🖥️ 5. Software Configuration
-
Launch EcoStruxure Motion Expert.
-
Create a new project or open an existing motion project.
-
Add the 140MMS42500 module in the rack configuration.
-
Define the number of axes, servo types, and encoder resolution.
-
Assign EtherCAT or Modbus addresses for each axis.
-
Set axis limits, soft stops, and maximum speed/acceleration parameters.
-
Download configuration to the motion controller.
💡 Tip: Test each axis independently before enabling multi-axis coordinated motion.
🔍 6. LED Indicator Reference
| LED | Color | Status | Meaning |
|---|---|---|---|
| RUN | Green | ON | Controller initialized |
| ERR | Red | OFF | Normal |
| ERR | Red | Flashing | Configuration mismatch or hardware fault |
| AXIS FAULT | Red | ON | Individual axis error detected |
If ERR or AXIS FAULT lights remain on after download, check:
-
Axis cabling and encoder connections
-
Module firmware version vs project configuration
-
Servo drive compatibility
🔧 7. Motion Verification Procedure
-
Perform homing sequence for each axis individually.
-
Check encoder feedback signals and error counters.
-
Run simple motion commands (e.g., jog, linear move) at reduced speed.
-
Monitor CPU load, network latency, and axis synchronization during multi-axis moves.
⚠️ Never run full-speed motion without confirming homing and safety interlocks.
🧰 8. Troubleshooting & Common Issues
| Symptom | Cause | Solution |
|---|---|---|
| ERR LED ON after power-up | Firmware mismatch | Update to latest compatible firmware |
| Axis not responding | Encoder not connected | Check wiring, polarity, and termination |
| Unexpected stops | Safety limits triggered | Verify soft/hard limits and digital inputs |
| Communication fault | Bus cable interference | Use shielded cables, separate from power lines |
| High CPU load | Excessive axes or high-speed polling | Reduce polling rate or offload tasks |
🧾 9. Maintenance Tips
-
Inspect cabling quarterly for wear and interference.
-
Verify firmware updates yearly.
-
Keep ventilation clear to prevent overheating.
-
Document all configuration changes for future reference.
💬 “Multi-axis motion controllers are extremely reliable — most failures come from cabling and configuration errors, not the module itself.”
✅ 10. Final Verification Checklist
-
[✔] Module seated and locked in place
-
[✔] All servo and encoder cables connected correctly
-
[✔] Firmware version matches project configuration
-
[✔] Each axis homed and verified individually
-
[✔] Multi-axis coordinated motion tested at low speed
-
[✔] LED indicators show no ERR or AXIS FAULT